Candle making is an enjoyable and rewarding hobby that allows you to create beautiful, scented pieces that can transform the ambiance of any room. Whether you’re a beginner or looking to refine your skills, this guide will walk you through the process of making your own candles.
Materials Needed:
- Wax (soy or beeswax)
- Cotton wicks
- Fragrance oils (optional)
- Dye (optional)
- Wax melting pot
- Sauce pan for double boiling
- Thermometer
- Candle molds, glass jars, or tin containers
- Stirring utensil
- Wick holders
- Candle wick trimmer
- Resiners heat gun
- 1000 PCS candle warning labels
- 24 Bags dried flowers

RELATED ARTICLE: The Art of Perfume Making: A Step-by-Step Guide
Step 1: Preparing the Workspace
Choose a clean, flat surface in a well-ventilated area. Lay down newspaper or a protective covering to catch any spills. Gather all your materials and have them within easy reach.
Step 2: Melting the Wax
Using a double boiler, melt your chosen wax. You can also use a heat-safe container in a pot of boiling water. Keep a close eye on the temperature with your thermometer; most waxes melt at around 170-180 degrees Fahrenheit. The set above uses a hot plate and heat safe container.
Step 3: Adding Color and Scent
Once the wax is melted and reaches 175-185 degrees Fahrenheit, you can add color and fragrance. Remove from heat. Stir in the dye if you’re using any, then add a few drops of fragrance oil. Avoid adding too much fragrance, as it can affect the candle’s burning quality. For an 8oz candle use 0.5oz – 0.8oz of fragrance oil per candle. The industry standard is considered 0.5oz – 0.8oz of fragrance per pound of wax
Step 4: Preparing the Container and Wick
While the wax is melting, prepare your container. Fix the wick at the center of the container. You can use a wick holder or simply sandwich the wick between two chopsticks lying across the top of the container to keep it centered and upright.
Step 5: Pouring the Wax
Once the wax is melted and scented, cool the wax to about 130-140 degrees Fahrenheit, then, carefully pour it into your container, leaving a small amount of space at the top for lid and wick tip or about 0.5in – 1in space from top of container. Keep the wick upright and centered as you pour.
Step 6: Letting the Candle Cool
Allow the candle to cool and solidify. This can take about 3 hours. Avoid moving the candle during this time to prevent any imperfections.
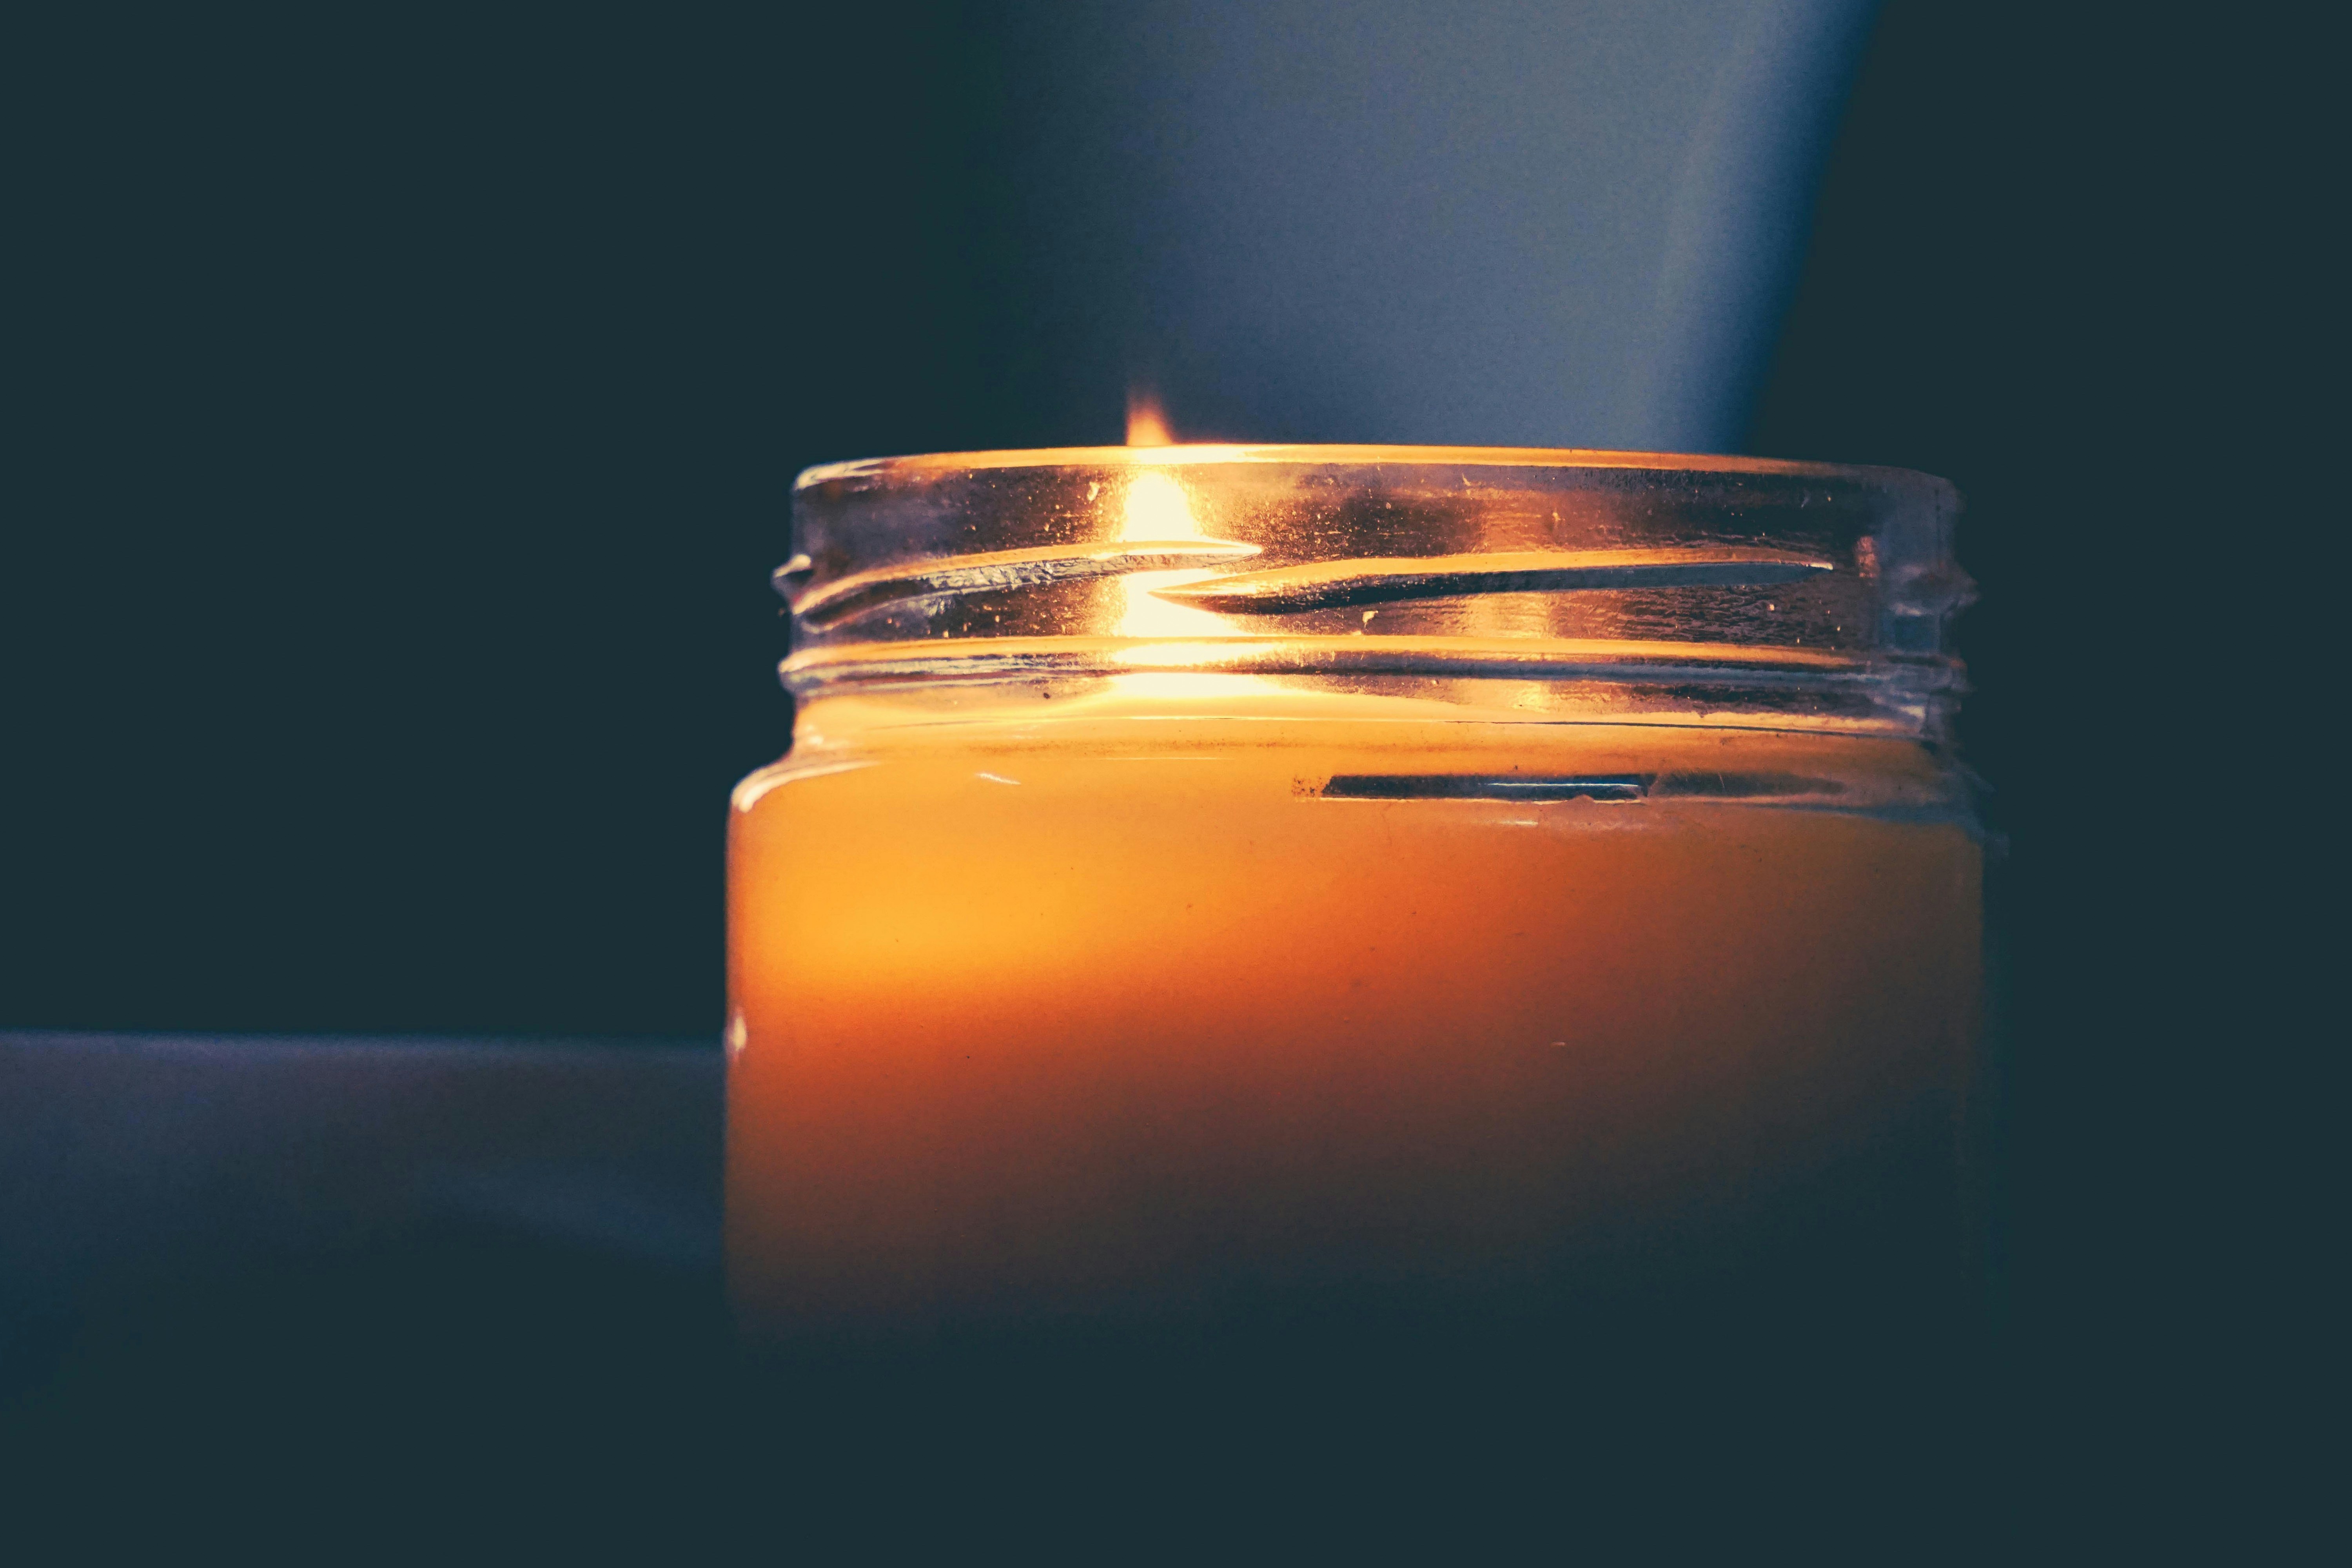
Step 7: Trimming the Wick
Once the candle is completely cool, trim the wick to about a quarter of an inch. This is an important step for ensuring your candle burns evenly and safely.
Step 8: Curing the Candle
If you can resist the temptation to use it right away, let your candle cure. This process can take a few days to two weeks and helps the fragrance oils to bind with the wax, resulting in a better scent throw.
RELATED ARTICLE: Salt Baths: Nature’s Answer to Stress, Aches, and Skin Woes.
Conclusion
Creating your own candles can be a fun and creative process. Experiment with different scents, colors, and shapes. Remember, practice makes perfect, so don’t be discouraged if your first few attempts aren’t perfect. Happy candle making!
One response to “How to Make Candles: A Step-by-Step Guide”
Nice