Flower arrangement is an exquisite way to add beauty, elegance, and a touch of nature to any space. Whether you’re looking to create a centerpiece for a special occasion or simply wish to bring the outdoors indoors, mastering the art of floral arrangement can be a rewarding and enjoyable experience. In this step-by-step guide, we will walk you through the process of creating a stunning floral display that will captivate and enchant.
RELATED ARTICLE: Floral Arrangement 101: Top Tools You Need to Get Started
Step 1: Gather Your Materials
Before diving into the creative process, it’s essential to gather all the necessary materials. You will need:
- Flowers: Choose a variety of blooms that complement each other in terms of color, size, and shape. Consider using focal flowers (such as roses or lilies), filler flowers (baby’s breath or wax flowers), and greenery (ferns or eucalyptus).
- Container: Select a vase or container that suits your style and the occasion. It should be clean and able to hold water.
- Tools: Have a pair of sharp floral shears or scissors, floral tape, and floral foam (if needed) on hand.
Step 2: Prepare the Flowers
Start by preparing the flowers for arranging. Remove any leaves that will be below the waterline in the vase to prevent bacterial growth. Trim the stems at a 45-degree angle to allow for better water absorption. If using woody stems, make a small vertical cut at the base to help them absorb water more easily.
Step 3: Create a Structure with Greenery
Using your greenery, create a foundation or structure for your arrangement. Start by placing a few stems in a crisscross pattern to form a base. This will help provide support and give your arrangement a balanced appearance.
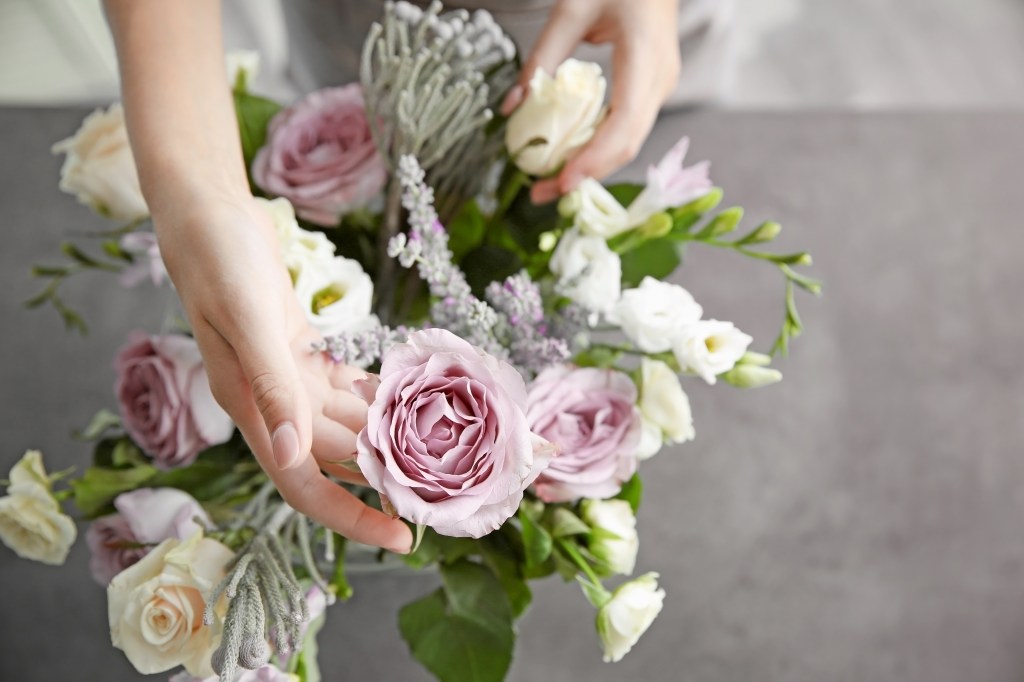
Step 4: Add Focal Flowers
Now, it’s time to add your focal flowers. These are the standout blooms that will draw attention. Place them strategically, considering the height and spacing to create visual interest. Trim the stems as needed to achieve the desired height.
Step 5: Incorporate Filler Flowers
Filler flowers add texture and fill in the gaps between the focal flowers. Insert them evenly throughout the arrangement, using shorter stems to add depth and volume. Ensure that they complement the focal flowers and enhance the overall look.
Step 6: Final Touches
To add the finishing touches, step back and assess your arrangement. Make any necessary adjustments to ensure balance and symmetry. Trim any excess leaves or stems that may detract from the overall design.
Step 7: Water and Maintenance
After completing your floral arrangement, fill the vase with water, ensuring that all the stems are submerged. Change the water every two to three days to keep your flowers fresh. Trim the stems slightly every few days to maintain water absorption.
RELATED ARTICLE: How to Make Candles: A Step-by-Step Guide
Conclusion:
Creating a beautiful floral arrangement is a blend of creativity, technique, and attention to detail. By following these step-by-step instructions, you can craft stunning displays that showcase nature’s beauty. Remember to experiment with different flower combinations, colors, and container styles to create unique and captivating arrangements. With practice, you’ll become more confident in your floral arranging skills and be able to create arrangements that bring joy and beauty to any space. So, unleash your creativity and enjoy the art of floral arrangement!
RELATED ARTICLE: The Art of Perfume Making: A Step-by-Step Guide
Check out our shopping guide with all the tools you need to get started with flower arrangements.
